The ocean is a dramatic, timeless beauty. When you strip away the color, something magical happens.
I’m here to guide you through creating lukisan hidupan laut hitam putih that look professional. This is a complete beginner’s guide.
By the end, you’ll understand the core principles. You’ll have a list of essential tools. And you’ll know a step-by-step process to draw your first piece.
No advanced artistic skill is required. Just bring your passion for the ocean and a willingness to learn.
Why Monochrome? The Unique Power of Black and White
Have you ever noticed how a black and white photo can sometimes hit harder than a full-color one? There’s something about removing color that forces the artist and viewer to focus on fundamental elements: form, light, shadow, and texture.
High contrast in black and white can create a more dramatic and emotional impact. Think about classic movies like Casablanca or Citizen Kane. Those films used monochrome to heighten the drama and draw you into the story.
Monochrome art also emphasizes the intricate patterns found in nature. Take a look at a lukisan hidupan laut hitam putih. You’ll see the scales of a fish, the texture of a coral, or the shell of a sea turtle in a way that color might distract from.
Different moods can be conveyed just by using shades of gray. A serene, calm scene can feel almost meditative, while a powerful, mysterious one can leave you with a sense of awe. It’s all in the play of light and shadow.
Mastering black and white is a foundational skill. It improves all other areas of an artist’s work. When you strip away the distraction of color, you learn to see and create in a whole new way.
Your Essential Toolkit: Gathering the Right Supplies
When it comes to drawing, having the right tools can make all the difference. Let’s start with graphite pencils.
Graphite pencils come in different hardnesses. Hard pencils (like 2H) are perfect for light sketches and fine details. Soft pencils (like 4B or 6B) are great for creating dark shadows and deep textures.
Charcoal is another fantastic option. Vine charcoal is soft and easy to blend, making it ideal for quick sketches. Compressed charcoal, on the other hand, is harder and produces deep, rich blacks.
It’s perfect for adding intense contrast to your work.
Fine-liner ink pens, such as Microns, are essential for creating sharp lines and detailed work. They come in various sizes, allowing you to achieve a range of line thicknesses.
- Graphite pencils (hard and soft)
- Charcoal (vine and compressed)
- Fine-liner ink pens (various sizes)
Paper choice is crucial. Smooth Bristol board is excellent for ink drawings, providing a clean, even surface. For pencil and charcoal, a paper with more ‘tooth’ (texture) is better.
This texture helps the material adhere and allows for more expressive shading.
- Smooth Bristol board for ink
- Textured paper for pencil and charcoal
Accessories are just as important. A kneaded eraser is a must-have. It can lift pigment gently, helping you create highlights and refine your work.
Blending stumps are great for smooth shading, especially when working with pencils and charcoal. And, of course, a good sharpener keeps your pencils in top condition.
- Kneaded eraser
- Blending stumps
- Sharpener
With these tools, you can tackle a variety of projects. Whether you’re sketching a lukisan hidupan laut hitam putih or a detailed portrait, having the right supplies will help you bring your vision to life.
Step-by-Step Tutorial: Drawing a Majestic Sea Turtle
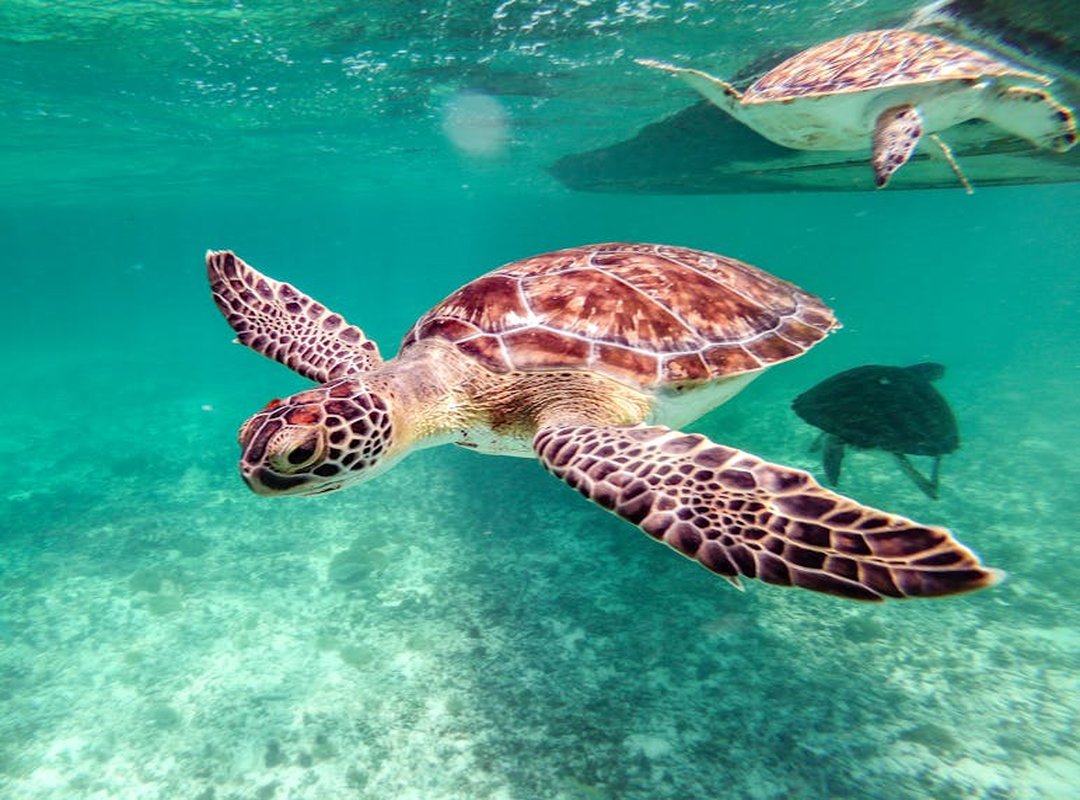
Drawing a sea turtle can be a rewarding experience, especially when you break it down into simple steps. Let’s dive in.
-
Start with Basic Shapes
Begin by sketching a large oval for the shell. This will be the foundation of your drawing. Add a smaller circle for the head and simple shapes for the flippers.Getting the proportions right at this stage is key. lukisan hidupan laut
-
Refine the Outline and Add Key Details
Once you have the basic shapes, refine the outline. Draw the hexagonal patterns (scutes) on the shell. These details make the turtle look more realistic.Don’t forget to add the texture of the turtle’s skin.
-
Establish Light and Shadow
Decide on a light source. This will help you determine where to place the shadows. Use a soft pencil to build up tone gradually.Start lightly and gradually darken the areas that would be in shadow.
-
Build Contrast and Texture
Now, use a dark pencil or charcoal to deepen the darkest shadows. Techniques like cross-hatching or stippling can add realistic texture to the skin and shell. This step is crucial for making your drawing come alive. -
Final Details and Highlights
Use a sharp, fine-liner pen to define the edges. A kneaded eraser can lift out bright highlights on the shell where the light hits directly. This adds a final touch of realism to your drawing.
Remember, practice makes perfect. Don’t be afraid to experiment and try different techniques. lukisan hidupan laut hitam putih can be a great way to explore and improve your skills.
Techniques to Make Your Drawings Pop
Drawing in black and white can be incredibly powerful. Lukisan hidupan laut hitam putih shows us how simple techniques can bring a whole scene to life.
Cross-Hatching: This is all about layering parallel lines in different directions. It builds up dark, textured areas. Perfect for coral or rough skin.
Imagine the texture of tree bark or the scales on a fish. Cross-hatching can make those details pop.
Stippling: Here, you use thousands of tiny dots. The closer the dots, the darker the area. Ideal for sandy seabeds or the delicate skin of a jellyfish.
It’s like creating a gradient with just dots. Takes patience, but the results are stunning.
Negative Space: This one’s a bit tricky. It’s about drawing the space around an object to define its shape. Think of it as carving out the subject from the background.
Highly effective for making a light-colored animal stand out against a dark background. It’s like when you see a silhouette in the night sky.
Value Gradient: Creating a smooth transition from black to white. This is crucial for depicting rounded forms and the way light falls across an object. Imagine a sphere.
The gradual shift from light to dark gives it depth and realism.
| Technique | Description | Example Use |
|---|---|---|
| Cross-Hatching | Layering parallel lines in different directions to build up dark, textured areas. | Coral or rough skin |
| Stippling | Using thousands of tiny dots to create tone and texture. Closer dots create darker areas. | Sandy seabeds or jellyfish skin |
| Negative Space | Drawing the space around an object to define its shape. | Light-colored animals against a dark background |
| Value Gradient | Creating a smooth transition from black to white to depict rounded forms and light. | Rounded objects like spheres |
These techniques can transform your drawings. Give them a try and see how they add depth and detail to your work.
Begin Your Underwater Art Adventure
lukisan hidupan laut hitam putih is all about mastering the interplay of form, light, and texture. You now have the essential tools and techniques at your fingertips to embark on this artistic journey.
Find a reference photo of your favorite sea creature. Try out the step-by-step method from this article.
Capturing the ocean’s beauty with just a pencil and paper is a truly rewarding experience.